I’ve been enjoying my original batch of plaster of paris based DIY chalk paint so much that it’s taken me a lot longer than I thought it would to get around to trying other methods.Finally, last Tuesday something possessed me to attack a little table I picked up at a church rummage sale a few weeks ago.
Why now, when I could’ve instead opted to finish one or even two of the several other projects that are near completion?
Beats the heck out of me!
Here’s the before.
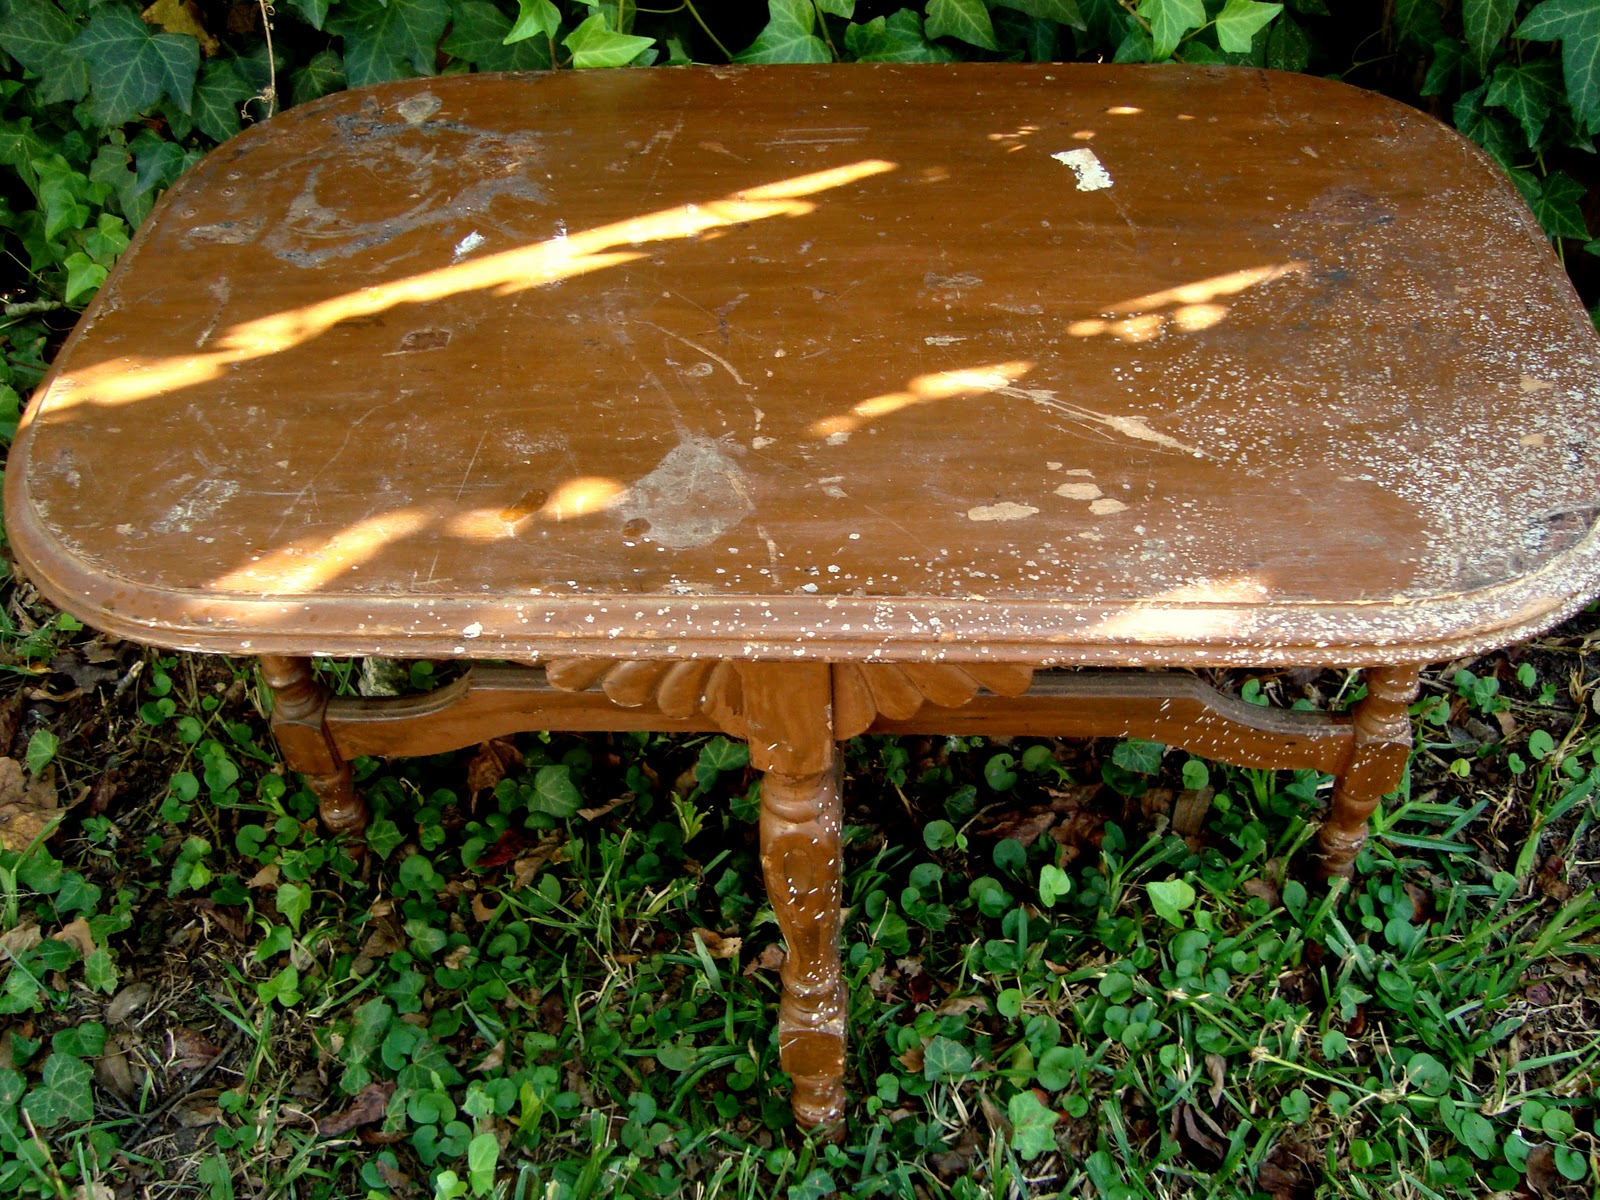
Good bones, but plenty of gooey, filthy ooook on the top. And because the picture above really doesn't do its stomach-turning nastiness justice:

All together now .... Ewwwwwww!!!
I scrubbed it down with some TSP and sanded the top...easy peasy because the finish was flaking off if you so much as looked at it crossways. I was planning to do another dark stained top and creamy painted legs combo. Apparently, that’s my default “look”.
There were a few white spots on the legs that I thought I should sand off, just in case they were something that would screw with paint adhesion, so I hit those with the sandpaper, too.

That’s when I realized that the legs had been painted brown. Ugh, am I the only one who’d like to put out a Public Service Announcement warning the general populace of the aesthetic dangers of brown paint on furniture?? No wonder this poor little table looked so dull and lifeless!
Anyway, once the paint started coming off the legs, I kind of started loving the look of the wood underneath…especially in the spots where a little of the paint was left behind. So next thing I know, my plan has been turned on its head…instead of dark/creamy I’m thinking super-distressed white top and chippy / natural legs.
Now, y’all know I am not a measurer. I just poured the unsanded grout into the remains of the same Valspar oops cream color that I used on my first DIY chalkpaint table, until I felt like I had reached something in the neighborhood of the recommended 2 Tbs / 1 cup ratio. I again added a little water because this mixture was super-thick, super-lumpy, and super hard to stir.
I loved the way it went onto my table top. Even after adding water and stirring till my shoulder nearly dislocated, there were definitely flecks of grit, but they brushed right out. It was like magic, so cool! The mixture had a nice feel on the brush, and best of all the bright white grout allowed the true, rich creamy color of the paint to shine through. My one gripe about my plaster of paris mix is that it tends to change the tone of the base paint a little – it makes it look a little cooler, probably because the plaster of paris seems to have a subtle gray tinge.
I didn’t worry about getting even coverage, since I knew I was going to be sanding a LOT of the paint back off. I was impressed, though, with how easily the paint dry brushed, and yet how thoroughly it covered when I left my brush loaded. Once I sanded most of the paint off the top, I waxed the whole table with Johnson’s clear followed by a sparse application of light brown Briwax on the top. Normally I’m not a huge fan of the light brown wax because I think it usually makes pieces look dirty, rather than the antiqued look that the dark wax lends. But in this case I think just a smidge of light brown was just right.

Part of me wants is tempted to go back and paint the legs solid white with minimal distressing. What would you do??

Or maybe sand the legs a wee bit more?

I was pretty happy with the final look, and with the way the paint performed as well.
But then I got a little cocky with it. I have an awful dark brown laminate storage drawer thingie I bought several years ago as an emergency solution for the overflow of toys into the dining room, and I thought that it, too, would be a good candidate to test my new DIY chalkpaint formula. Especially since I’m not using it in the dining room anymore, haha. After all, my plaster of paris mixture handled cheap laminate with ease, and I honestly thought by the “feel” of it that the unsanded grout would adhere even better.

Can you say WRONNNNNNNNNNNNG?
First of all, my experience was that the longer you leave the unsanded grout paint mix exposed to air, the grittier and lumpier it gets. (I painted the laminate right after I finished painting the table top. Maybe 15-20 minutes air exposure tops??) I stirred like crazy and even added a little more water, but probably should have added more because at this point the grit simply refused to brush out. And then woe of woes, once it was dry and I hit the grit with some 220 sandpaper, that paint peeled right up. I sanded, recoated, and tried again a few days later and same result.

Black & white because my camera put a yellow tint on this pic (taken at night) and I wouldn't want some silly discoloration to detract from your enjoyment of the awful lumpy grit.
Bummer, dudes.
Even though I’m disappointed with that outcome, I will still keep the grout paint in my arsenal. For one thing, I still have about 1/3 of a quart left, and it’d have to be really awful for me to waste that much paint! I was very happy with the way the paint performed on my raw wood table top, and I am hopeful that adding a bit more water will help with the grit. Even though technically, yes, I could also use regular old latex on raw wood, I think it dry brushed AND covered better than latex, and it definitely looked more aged than straight latex. I’ll have to see how it does on unsanded wood, but I suspect it should be fine -- I’ll just make sure I stick to my plaster of paris mix on those rare occasions that I paint fake wood!
Up next – gesso mix, thanks to Friday’s lunchtime jaunt to the art supply place near my workplace! Not sure what I’m going to paint, (alas, that’s what I’d intended the Highway Telephone Stand for), although maybe I’ll try it on the awful dark brown laminate cabinet’s drawers just to see what happens …and who knows, maybe I’ll even go a little crazy and measure the gesso or something…all in the name of science, ya know!
Don't you just hate it when it blows up like that? I lean toward making the table legs match the top and stencilling or transferring something on the top. Too "Frenchy" for you?
ReplyDeleteNot sure I'm confident enough with transferring just yet to try it on this table...maybe I'll practice some more first! I think I'll sand the legs some more this weekend and see how brave I get :)
ReplyDeleteSounds like you learned something even if it didn't turn out like you wanted. :)
ReplyDeletetoo funny! the little table looks super cute now!
ReplyDeleteThat was an interesting journey! I think I would just sand the legs a little more. I tried gesso paint and did not get it at all, it did not seem to cover very well and i did not see the chalky plaster effect I was hoping for, can't wait to see your assessment, I'm going to follow you to find out!
ReplyDeleteCarol
It looks great as is. I wouldn't do another thing to it. Well, maybe just a little more sanding on those crossbars.
ReplyDeleteThe little table turned out great! I have had several readers tell me they liked the results using baking powder. I haven't tried it yet but will next time I find something to paint. Thanks for linking to the Open House party.
ReplyDeletexo,
Sherry